We are a participant in the Amazon Services LLC Associates Program, an affiliate advertising program designed to provide a means for us to earn fees by linking to Amazon.com and affiliated sites.
Food Photography Resources
You may notice the growth of my photography over the years in my blog. I still try to improve each time I pick up my camera. Here’s quick history of the cameras I have used for photos on A Baker’s House.
I started in 2011 with a basic point and shoot camera, the Canon Power Shot SD1100 IS. The saying goes that the best camera to use is the one you are holding…but that may not hold true for food photography. My point and shoot images were a starting point but were not that visually appealing.
Here is a resource of the equipment I use and recommend.
Food Photography Resources
Everything you need to get you on your way with food photography!
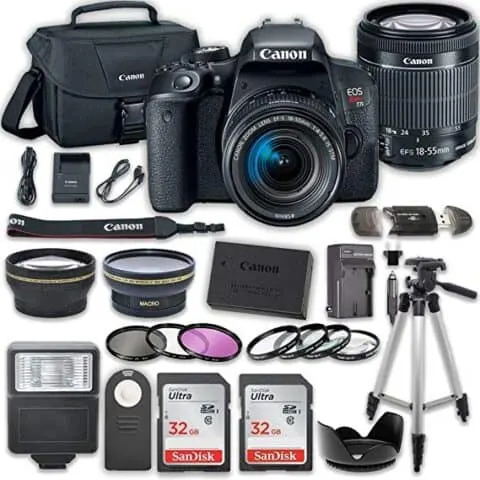
Canon EOS T7i DSLR Camera with 18-55mm IS STM Lens
I graduated to a DSLR with the Canon EOS Rebel T3i in August 2012 and used the kit 18-55 mm lens for quite some time. The Rebel was a big step up from my point and shoot and I really was happy with the improvement in my photos.
The current version available for sale in this series is the Canon EOS Rebel T7i Camera.
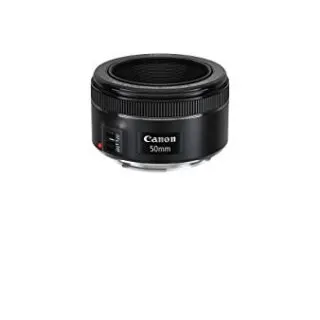
Canon EF 50mm f/1.8 STM Lens
If you already have a DSLR and want to add a prime lens (one with a fixed focal length which means you “zoom” in and out by physically moving closer or farther from your subject rather than turning the lens attached to your camera), a good entry lens for food photography is the Canon EF 50mm f/1.8 STM Lens.
I’ve used this lens consistently for a few years and like the detail I can capture in my food while creating bokeh (the blurriness of the background). This lens has a fixed focal length with a maximum aperture of f/1.8.
The lens is affordable and made an instant difference in the quality of my photography.
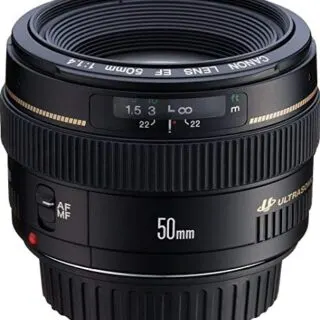
Canon EF 50mm f/1.4 USM
There is another option from Canon for this prime lens, the Canon EF 50mm f/1.4 USM. It is a higher quality lens and is more expensive.
AmazonBasics UV Protection Camera Lens Filter - 52mm
Any time you buy a new lens, be sure to purchase a UV Protection Lens Filter.
This is an inexpensive way to protect your lens dust and scratches. Filters often costs $10-20 and attach to the front of the lens.
You would much rather have an accidental scratch on your $10 filter than your $300 lens!
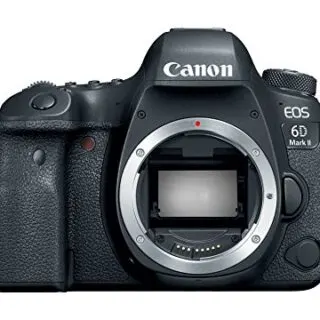
Canon EOS 6D Mark II Digital SLR Camera Body
In December of 2019 I invested in the Canon EOS 6D Mark II Digital SLR Camera Body. I spent hours/days/months researching and evaluating my options and my goals for improvement as a photographer.
This is a big purchase and I consider it a solid investment in my business. The 6D is full frame camera with which I can still use my 50 mm lens, although the images created withe the 50 mm will appear different in composition from those taken with the cropped sensor Canon Rebel DSLR.
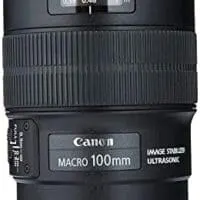
Canon EF 100mm f/2.8L IS USM Macro Lens
I purchased the Canon EF 100mm f/2.8L IS USM Macro Lens for my close up food photography.
This lens is also a big investment and I am excited to see how I can best use it to work towards creating top quality images for A Baker’s House.

Bessie Bakes Photography Backdrop
I love using surfaces from Bessie Bakes Backdrops. She is a food blogger herself and knows how important a high quality, lightweight backdrop can be. I have the white tile, two marbles, and a beautiful green. My collection will continue to grow!
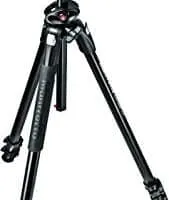
Manfrotto Tripod with extendable arm
For a number of years I used a basic tripod. There was nothing wrong with it and it functioned well enough…but now I’ve learned that having a stellar tripod is a big step in improving your photography.
Are you taking overhead shots with your camera? You might want a tripod that has an extending arm. Be careful with the weight of the camera you attach to such an arm– you may need bags of rice or something to coutnerbalance it.
Here is the Manfrotto tripod I researched and purchased. There are tripods at all price points and this one is expensive in my book. But it is a tool I use every day.
The functionality of the extending arm has allowed me to take beautiful overhead photos and to dive into video too.
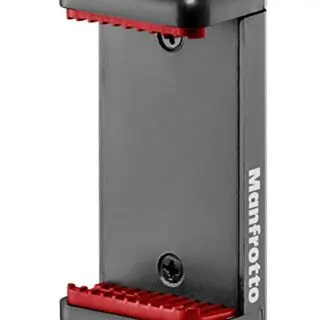
Manfrotto Universal Smartphone Clamp, Basic Version (MCLAMP)
For most videos (and some photographs) I use this cell phone attachment piece to easily use my cell phone with the tripod set up.
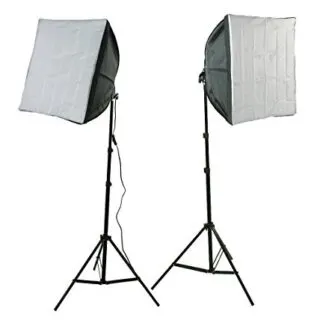
Studio Flourescent Photo Video Lighting Kit
Natural light is my first option when shooting food photography.
If the time of day or the time of year doesn’t lend itself to good natural light, then I turn to two options at home for artificial light.
The first artificial light I use is called a Lowel Ego light. This exact light doesn’t appear to be available on Amazon presently but this flourescent photo lighting box would be similar in concept. A flourescent light bulb (or multiple bulbs) is housed behind a white diffusing material.
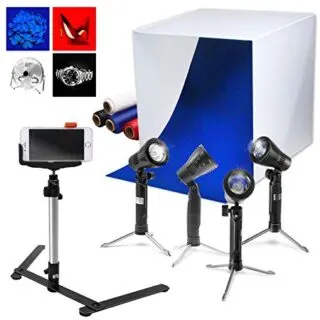
Cubic White Photo Box Tent, LED Table Top Light Set up
The second set up for indoor food photography is this affordable light box set up by Limo Studio.
The kit comes with a 16 inch by 16 inch light box that folds down flat when not in use.
Also included in the lighting kit is a small tripod suitable to hold a phone, two small LED lights, and material in four colors to use as backdrops (white, black, red, and blue).
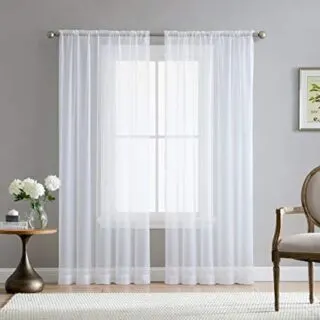
White Sheer Window Panels
Now, there are also great low cost options that will help you improve your indoor photography. The first is as simple as a white foam board– you know the kind that your child might use for a school project? Yes! As simple as buying a poster board at Target. Use this foam board to bounce light back onto your main subject.
A second good low cost option for improving food photography is a simple white sheer curtain like this one on Amazon. Hang it in front of your window to help diffuse or spread out the light that is coming in. This trick is especially helpful during bright hours of daylight.
Improve your photography with free resources:
A more expensive camera doesn’t mean instantly better photos. In fact, any camera will have a learning curve as you get to know how to use its functions. I am constantly learning.
The best way to improve your photography is to take a lot of photos. Yes, it’s that simple. Take a photo of food in your pantry, of the meals you are eating at home, of meals with a change of lighting in a restaurant. Just keep on clicking.
Reading books from your local library is often overlooked. There is a treasure chest of information out there ready for those who take a closer look. There are also plenty of photography tutorials online. Here are a few sites where I’ve learned a lot about food photography:
Serious Eats Guide to Food Photography
Digital Photography Tips and Tutorials for Beginners
Invest in improving your photography:
If you are ready to invest in improving your photography, take a class from a local photographer. I did this before I bought my first DSLR just to see if I was interested in learning more. (I was!) Another option is online learning.
If you are looking for blogging resources all in one place, you will find it in Food Blogger Pro. Lindsay’s husband, Bjork, runs the membership site called Food Blogger Pro. I joined in November 2017 and I can’t believe that I didn’t join sooner.
Food Blogger Pro offers video tutorials on all things blogging– Getting Started, Food Photography, Editing Photos, Food Videos, Social Media, Increasing Traffic, Generating Income and more. There is an active community of bloggers who post and respond to questions, and the customer service provided by the Food Blogger Pro team is first rate.
I cannot speak highly enough about the positive changes I am implementing thanks to Food Blogger Pro. Enrollment is open twice a year. Join the Food Blogger Pro Waiting List! In the mean time start with the free Food Blogger Pro Podcasts to learn about all things blogging.
Questions? Send me an email at [email protected]
Artificial Light Course
When I jumped into learning about artificial light in photography, I first watched everything on Youtube that Joanie Simon has to offer. She is amazing. Joanie of The Bite Shot, educates and inspires in each video lesson she shares.
Joanie’s paid course, Artificial Academy, got me up and running with artificial lights with confidence. I highly recommend her course which is getting an update in 2021. Honestly I am not sure what else Joanie could add to her course to make it better, but I can’t wait to see! #affiliatelink If you sign up for Artifical Academy through this link I will earn a small commission as well at no additional cost to you.
Joanie also offers a Beginner Bootcamp which gives a solid foundation in Camera Basics, working with Natural Light, and Editing.


