Cherry Cheesecake Popsicles take the classic cherry cheesecake dessert and turn it into a frozen delight! A fresh and bright cherry puree creates one frozen layer which is combined with a creamy Greek yogurt and cream cheese layer. Finish this cool summer treat off with a graham cracker topping then let the freezer do all the hard work! Sit back and enjoy!
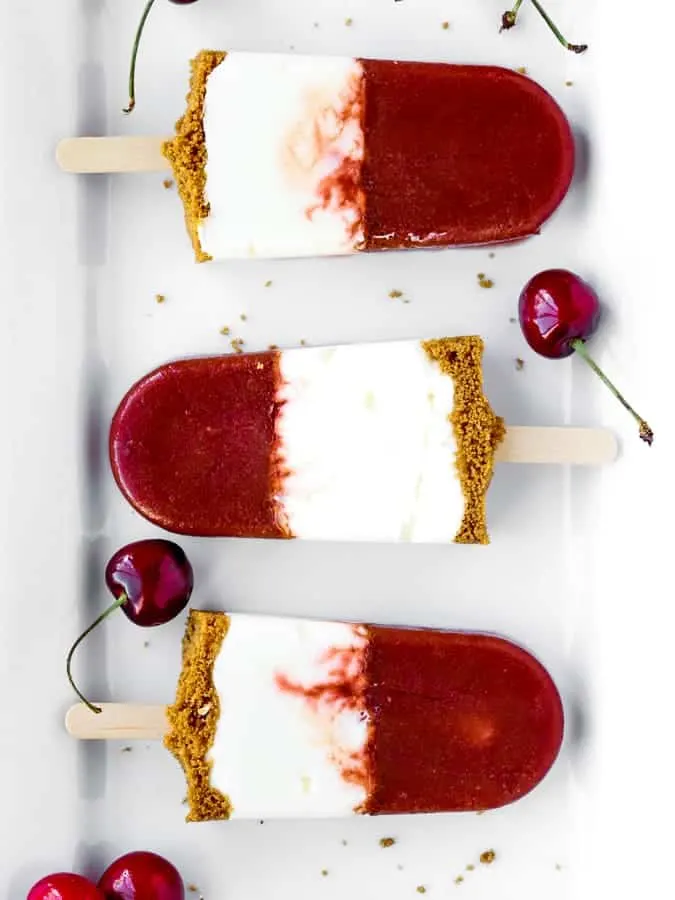
Nothing beats a cool and creamy dessert in the summer like a popsicle! Popsicles or ice pops are perfect for any age. They satisfy the kids and take the adults right back to a childhood summer’s day.
If you love these cherry popsicles, you’ll want to make a batch of blueberry popsicles too!
Popsicles are also the perfect make ahead dessert. Prepare the ingredients and layer them into the popsicle molds then let time and the freezer do all the work. These cherry cheesecake popsicles bring you a cheesecake dessert without ever turning on the oven. No bake desserts are so nice for summer entertaining!
Let’s look at the steps to make this no bake cream cheese dessert. You’ll have cheesecake on a stick in only a few hours!
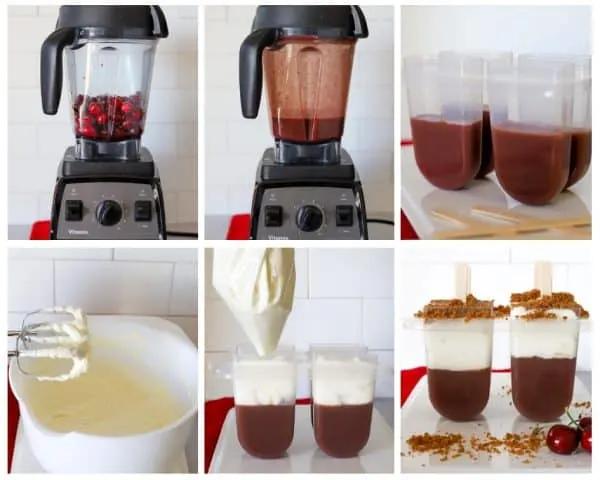
How to make cherry cheesecake popsicles:
- Puree fresh cherries and a small bit of water and sugar. Pour into the popsicle mold and freeze for ten minutes.
- Make the cheese cake filling layer by blending the cream cheese, vanilla Greek yogurt, sugar and lemon juice. Pipe or scoop into the popsicles molds, leaving some space at the top.
- Crush the graham crackers and combine with melted butter. Fill the remaining space in the popsicle molds then insert a popsicle stick.
- Freeze for at least 4 hours or overnight.
You could use only cream cheese for this cream cheese filling but I like the balance and creaminess from the Greek yogurt. Alternatively you could make healthy homemade popsicles without the cream cheese and only with Greek yogurt. Play around with your ingredients and create something your family will love!
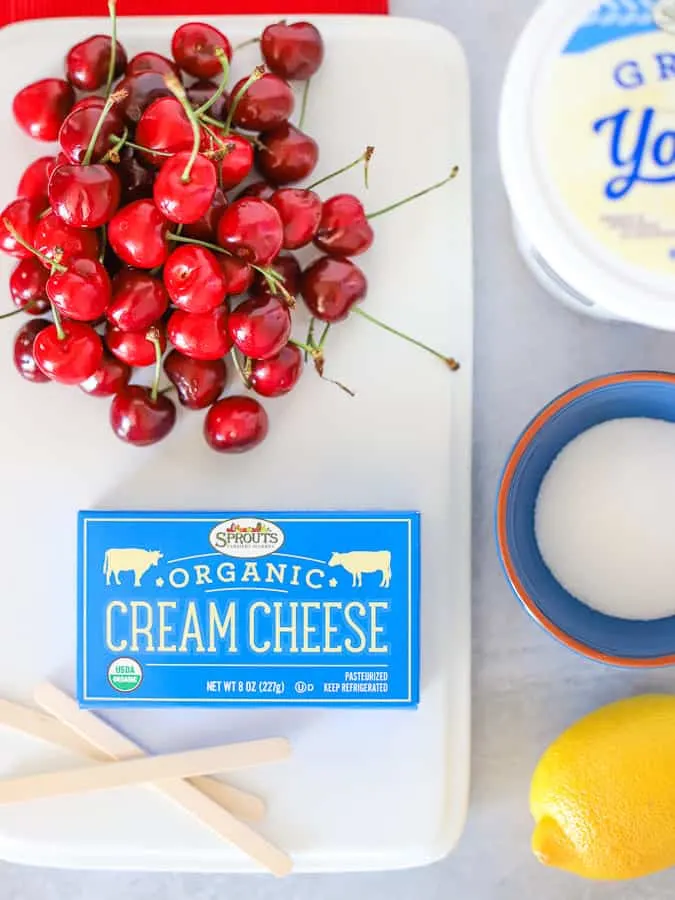
What ingredients are in Cherry Cheesecake Popsicles?
- fresh cherries
- water
- sugar
- Sprouts organic cream cheese
- Sprouts Vanilla Greek yogurt
- fresh lemon juice
- graham crackers squares (gluten free option available)
- butter
Buy your fresh cherries at Sprouts Farmers Market
Fresh cherries are in season now at your local Sprouts Farmers Market!
Celebrate the flavors of summer with the best selection of fresh cherries.
New deliveries are made frequently and I was lucky to shop at Sprouts Farmers Market on a day when the freshest shipment had literally just arrived. The people at my local Sprouts were so helpful when they noticed I needed more cherries than were already out on display. They wheeled out a cart towering with bags of fresh cherries– it felt like winning a prize!
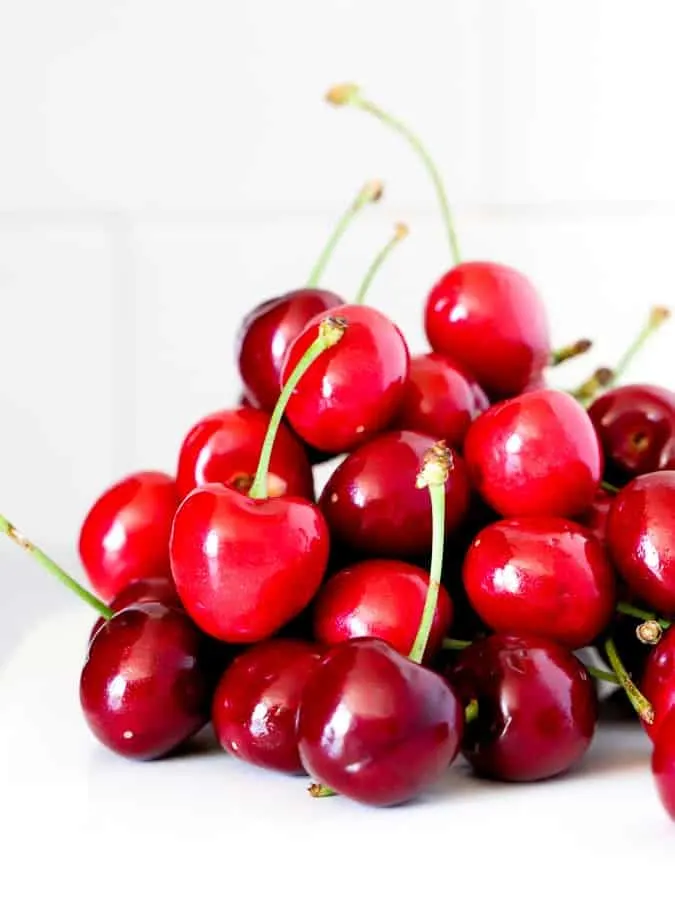
How do you remove the pit from cherries?
Fresh cherries are a summer speciality and removing the pits is part of the work that muts be done before you enjoy the cherries. Taking the pits out of cherries can be messy but there are tricks that make this process simple.
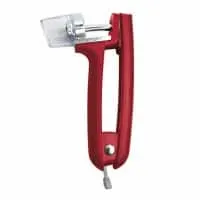
My favorite tool to use is Oxo’s cherry pitter. (affiliate link) This hand held gadget is easy to use and makes quick work of depitting the cherries. It works like a hole puncher: place the cherry on the holder and then squeeze the handles to let the pit be pushed out of the cherry. There is a splatter shield on the device that does a good job of directing the juice in the right direction and away from your clothes!
As an Amazon Associate I earn from qualifying purchases.
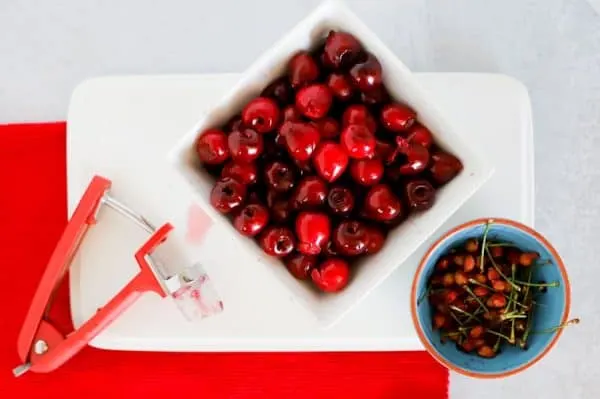
If you don’t have a kitchen tool to help with taking out the pits, try this trick. Take a glass bottle with an opening that is smaller than your cherries. (Plastic bottles work as well but are less sturdy. You have to apply a bit of force and sometimes the plastic bottle crumbles a bit.)
Place a cherry on the opening over the empty bottle then hold it carefully in place while you push a chopstick through the center of the cherry.
You may want to wear gloves or else your hands will be stained with red cherry juice.
The pit should fall into the bottle below. This method of removing cherry pits is messy! Be sure to have paper towels or a plate underneath the bottle so that your countertops are not stained.
Can you use frozen cherries to make popsicles?
Yes, you can use frozen cherries to make popsicles too. You may not need to add as much water to your cherry puree.
How long does it take for popsicles to freeze?
Popsicles will need anywhere from 4 hours to overnight to freeze. Overnight is my preference.
How to unmold popsicles?
Use water to help you unmold your cherry cheesecake ice pops. Fill a small container with warm water. (Not hot water, only warm.) Dip your popsicle molds into the water for about 15-20 seconds then lift out again. Gently tug on the popsicle sticks to loosen the popsicles from the molds.
Layer the popsicles on parchment paper, seal in a freezer safe plastic bag, and freeze them again if you do not need to serve the ice pops right away.
How long do popsicles last in the freezer?
Homemade popsicles last three to six months in the freezer if stored properly. If any ice crystals form on the popsicles, the texture may be different but the popsicles should be ok to eat still. Brush away any ice burn. Ideally eat the popsicles within a week.
Pin with me!
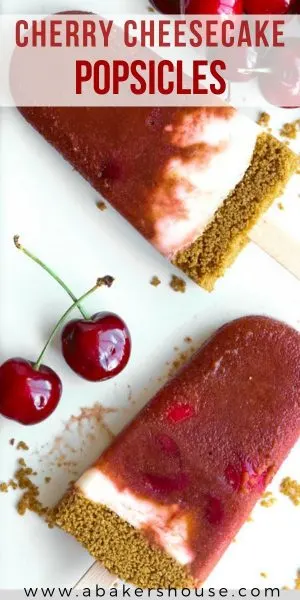
Do you love this cherry popsicle recipe? Try more cherry recipes!
- Cherry Bread
- Ginger cherry cheesecake squares
- Cherry Pie
- No Bake Cherry Cheesecake from Glorious Treats
- Top these lime cheesecake bites with cherry pie filling for a tasty dessert!
Cherry Cheesecake Popsicles
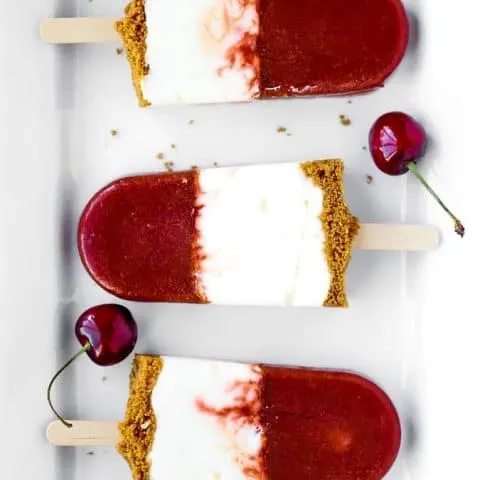
Cherry Cheesecake Popsicles take the classic cherry cheesecake dessert and turn it into a frozen delight!
Ingredients
- 3 cups cherries
- ¼ cup water
- 3 tablespoons sugar, divided
- 8 oz Sprouts organic cream cheese (1 package)
- 1 cup Sprouts Vanilla Greek yogurt
- 2 tablespoons fresh lemon juice
- 4 graham crackers squares (gluten free option available)
- 2 tablespoons butter, melted
Instructions
- Wash and take the pits out of the cherries.
- Puree the pitted cherries, ¼ cup water, and 1 tablespoon of sugar in a high speed blender. Pour a layer of the cherry mixture into the popsicle molds. Freeze for ten minutes.
- Use an electric blender to beat the 8 oz cream cheese, 1 cup Vanilla Greek yogurt, 2 tablespoons sugar, and 2 tablespoons fresh lemon juice until smooth. Scoop or pipe the cream cheese filling into the molds, leaving about ½ inch of space at the top.
- In a small food processor, grind the graham crackers and melted butter. Fill in the popsicle molds with the graham cracker mixture. Pat down the graham cracker layer.
- Insert a popsicle stick into each popsicle.
- Freeze the popsicles for at least 4-6 hours. Overnight is ideal.
Notes
1.Freeze the popsicles for at least 4 hours. Overnight is suggested.
2.Each popsicle maker or mold may be different in size. This recipe made 10 popsicles for me.
Recommended Products
As an Amazon Associate and member of other affiliate programs, I earn from qualifying purchases.
Nutrition Information:
Yield:
10Serving Size:
1Amount Per Serving: Calories: 103Total Fat: 4gSaturated Fat: 2gTrans Fat: 0gUnsaturated Fat: 1gCholesterol: 9mgSodium: 47mgCarbohydrates: 15gFiber: 2gSugar: 12gProtein: 3g
This data is provided by Nutritionix and is an estimate only.

Holly Baker started the food blog, A Baker’s House, in 2011. She is the writer, recipe creator, and photographer for the site. Holly loves to bake and shares recipes for gluten free food, canning recipes, as well as traditional desserts too. Her recipes and food photography have been highlighted by BuzzFeed, Reader’s Digest, and She Knows.

Jennifer
Thursday 4th of July 2019
Made these for a bbq. They’re delicious. Made the recipe as written. ?
Holly Baker
Thursday 4th of July 2019
Yay! I am so happy to hear that you made these popsicles and enjoyed them. I hope to try them in other flavors this summer too.