Whether you need graduation cookies for a college commencement, a high school graduation, or even a kindergarten celebration, these sugar cookies decorated with royal icing are perfect for your special occasion. Graduation caps, diplomas, and decorative cookies in white with gold luster or use your school colors!

Instead of asking where can I buy graduation cookies? Keep reading to learn how to make graduation cookies!
Festive cookies should be at the top of your list for graduation party ideas or party favors. Keep the cookies plain or add some color to the hat or the tassel.
Personalize the cookies with your student’s name or the year. Even one initial for a monogram would be a great addition.
Graduation Cookie Cutters
Starting with this set of cookie cutters that I found online makes the shapes come to life. The cutters provide obvious cookie ideas. I used the graduation hat and diploma for this batch of graduation cookies and look forward to trying some of the other shapes in the package- the medal, the owl, and the graduation gown all have great possibilities too.
As an Amazon Associate I earn from qualifying purchases.
Here’s a video showing the step by step for the white cookies. Decorating takes time so I sped the video up to double speed and, even so, my decorating steps look slow to me.
Cautious and careful is a better description. In the end these are simply cookies made for eating so don’t sweat the small mistakes. Give it a try!
Step by Step Photos for Decorating Graduation Cookies
- Bake cookies in the shape of graduation caps, diplomas or gowns.
- Make white royal icing.
- Outline the cookies with thicker royal icing then fill the inside with thinned royal icing.
- Let dry then add more detail with additional thick white royal icing or paint on gold lustre.
Once you’ve baked your sugar cookies it is time to decorate. Start by sketching out ideas for colors and designs, as well as the order you will add your layers of icing. It’s better to plan ahead rather than to get stuck midday through without knowing what your end goal will be.
Sketching your cookie shapes and colors
I may not be the best artist but sketching out ideas on paper really helps me visualize how to decorate cookies. Coloring with pencils or markers is a much easier way to compare styles and colors instead of using up valuable royal icing to do the same thing.

First outline the top of the cap. I find it helps to do this in two stages– the top and the sides. Fill in the top then let it dry for a few minutes before continuing. Wilton number 2 tip is my preference for outlining then I use a larger tip (or in this case just a squeeze bottle) and a thinned out icing to fill the spaces.
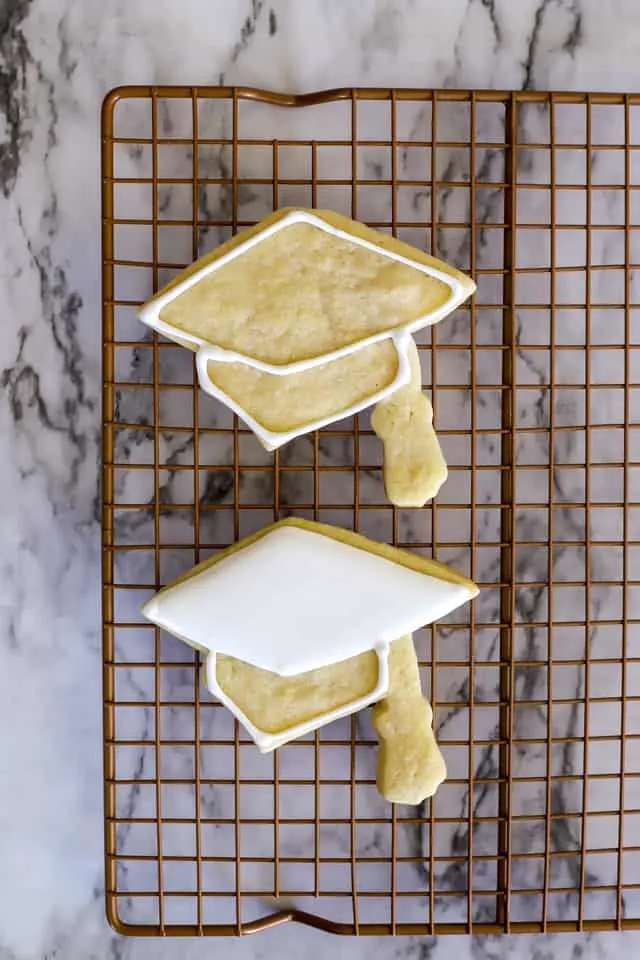
Continue to fill the sides of the cap. I like how the two parts stay segmented when you wait a few minutes for the top of the cap to dry. It helps the next step so that you can see the separation.
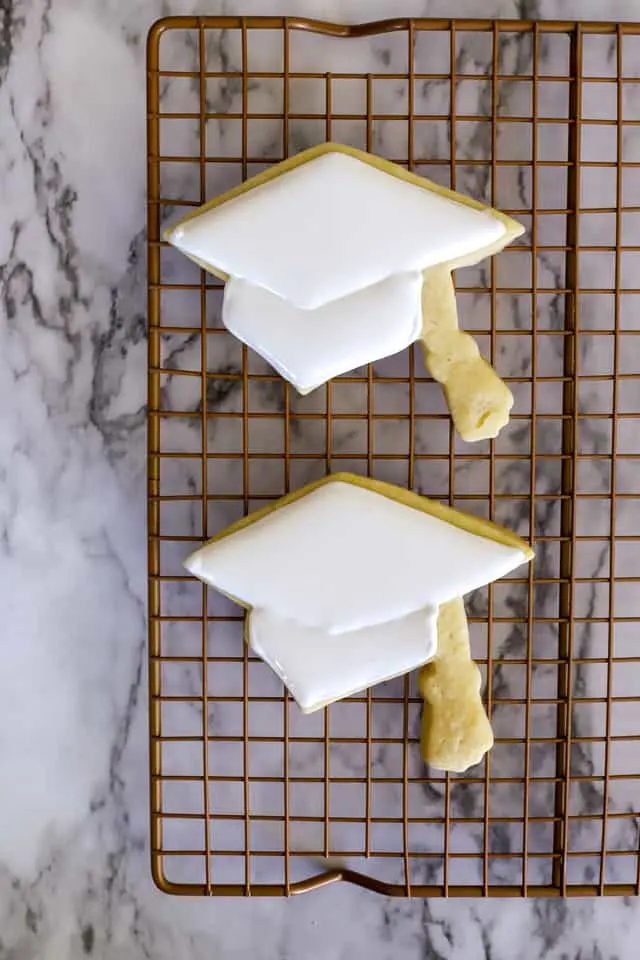
Let the icing dry again for about 10-15 minutes then outline the top of the cap again. This steps add a bit of definition to the top of the cap, although it isn’t necessary so skip it if you wish.
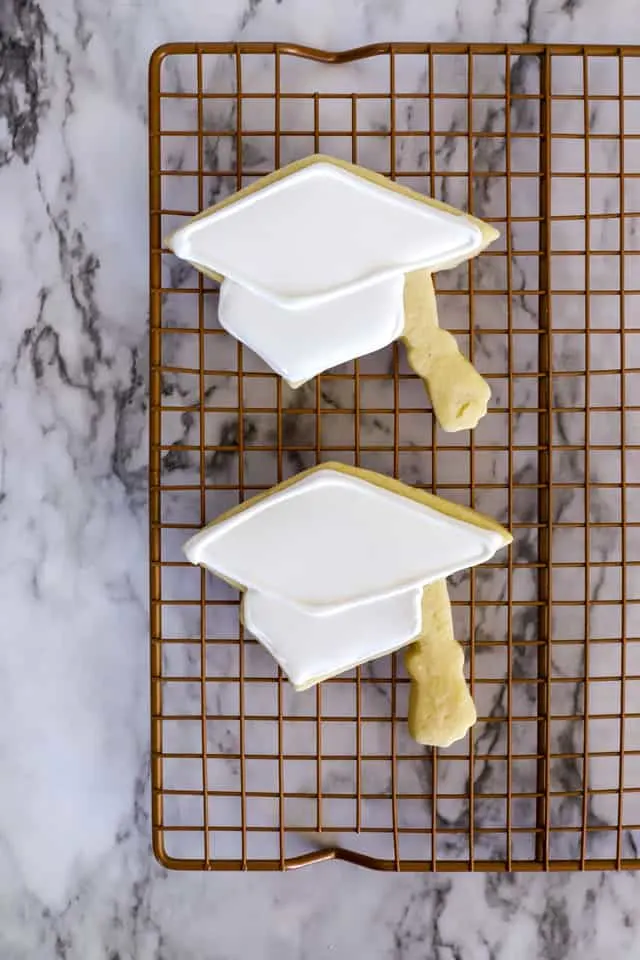
Now add a circle in the middle of the top of the cap and add a circle for the tassel. Wilton number 2 tip works well here still.
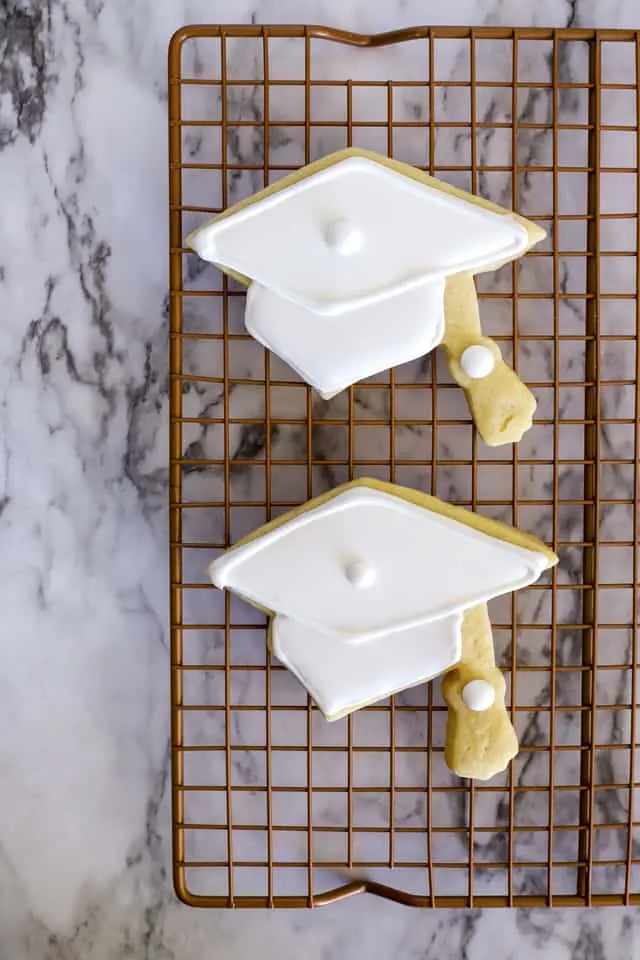
The tassel
Here is where I switch to a smaller icing tip. Use a Wilton number 1 for the step of drawing the string from the center circle to the edge and then to the tassel. Add fringe to the tassel too.
What is the rule about the tassel? Doesn’t it start on one side of the students’ heads and then is moved over to the other to signify a graduate at the end of the ceremony? What parts of your graduation ceremonies stick out in your mind?

Keep it simple with all white graduation cookies or add a bit of shine with gold luster (spelled luster or lustre).
Which color scheme do you prefer? Incorporating your school colors is a great way to add school spirit to these graduation cookies. All black graduation caps are traditional as well.
Adding a personal touch
Wouldn’t these be lovely with a name to personalize the cookies? Writing on cookies is a craft I am trying to develop.
You can practice like I have by writing a word or name (“grad” in this case worked well) on parchment paper. Let the icing dry then simply use only the words that turned out well.
This step is a trick for beginners because you can practice on parchment and not feel like you “ruined” a cookie by writing something that just didn’t turn out well.
Dab a bit of icing on your cookie before gently laying your word on the cookie. So pretty!
Gold Luster Dust
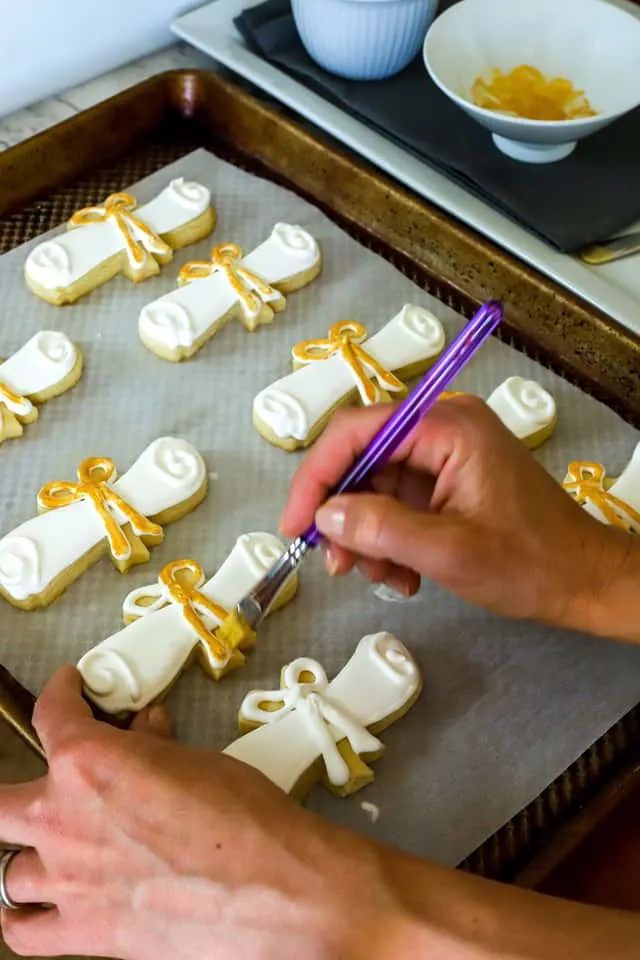
Luster dust is new to me. I found this gold luster online and it was easy to use. Simply add a few drops of vodka to a small bit of the gold dust. Mix well. You’ll know you’ve added enough liquid when the dust is no longer grainy.
The vodka evaporates and will not remain on your cookies. Only the pretty shimmer of gold remains. Use a food-safe paint brush to carefully layer on the gold luster so that you can apply the golf exactly where you’d like it to go.
You may want to layer your gold luster over top of another color such as yellow. This technique gives the gold a different tone as compared to layering over white icing. Both are good options.
What do you think of the gold bows on the diploma cookies? Adding that extra layer of detail makes these graduation sugar cookies ready for a party!
My food-safe paintbrushes were a gift a few years ago at Christmas. I used them to make these painted flower cookies.
Pin these graduation cookies for later!
Are you ready to try your hand at more royal icing decorated cookies? Using royal icing and piping bags are really not as hard as it might seem. You just have to jump in and give it a try.
How to Decorate Graduation Cookies

Decorate beautiful cookies for your graduation party or use these treats as favors for your guests!
Materials
- White Royal Icing
- Piping Bags or squeeze bottes
- Gold Lustre Dust
Tools
- Icing tips
- Food safe paint brushes
Instructions
- Bake cookies in the shape of graduation caps, diplomas or gowns.
- Make white royal icing.
- Outline the cookies with thicker royal icing then fill the inside with thinned royal icing.
- Let dry then add more detail with additional thick white royal icing or paint on gold lustre.
Notes
Let the iced cookies dry completely before stacking them in a container or individually bagging them in small gift bags
Here are some good ideas:
- Hummingbird Cookies
- Seagull Cookies
- Ice Cream Cone Cookies
- High Heels and Purses Cookies
- New Years Cookies
We are a participant in the Amazon Services LLC Associates Program, an affiliate advertising program designed to provide a means for us to earn fees by linking to Amazon.com and affiliated sites.
BAKING SUPPLIES YOU MAY NEED:
- Meringue Powder for the Royal Icing
- Wilton Icing Colors
- Disposable Decorating Bags
- Icing tip collection
- Pastry and Cookie Gift Boxes with Window

Holly Baker started the food blog, A Baker’s House, in 2011. She is the writer, recipe creator, and photographer for the site. Holly loves to bake and shares recipes for gluten free food, canning recipes, as well as traditional desserts too. Her recipes and food photography have been highlighted by BuzzFeed, Reader’s Digest, and She Knows.




Jacque
Friday 18th of May 2018
Wow- so impressed. Your cookies look awesome!
Holly Baker
Friday 18th of May 2018
Thanks! I hope the make the graduate smile for her special day!
Charlotte Moore
Friday 18th of May 2018
These are so cute!
Holly Baker
Friday 18th of May 2018
Thanks, Charlotte! It's fun to make cookies for a happy celebration. I made these for my friend's daughter who is graduating high school.